
Stylish Home Improvements on a Budget
Plan First: Budget, Style, and Impact
Set a Real Budget You’ll Keep
Divide your total into materials, tools, and a small contingency so surprises do not derail progress. A reader named Leo kept momentum by prepping a simple spreadsheet and assigning deadlines, which turned overwhelming ideas into manageable, stylish milestones.
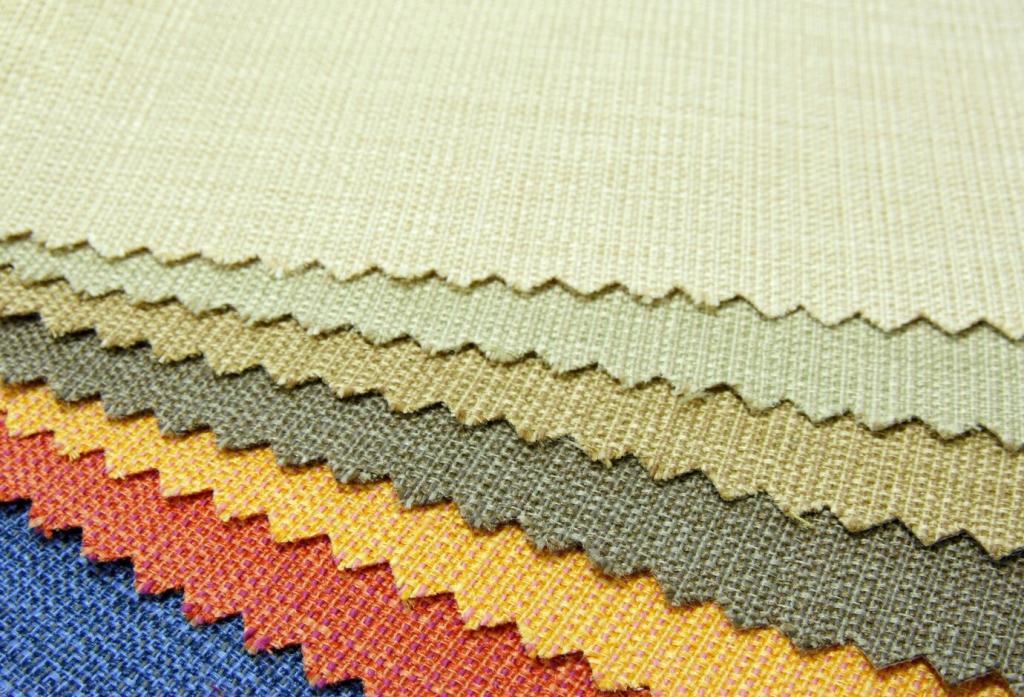
Define Your Style with Affordable Anchors
Create a mood board featuring a hero rug, two paint swatches, and one signature metal finish. Those inexpensive anchors guided reader Maya’s choices, preventing random purchases and helping every thrifted find feel intentional, cohesive, and surprisingly high-end.
Pick Projects by Impact per Dollar
Evaluate each idea by visibility and frequency of use. Ava swapped yellow bulbs, painted trim, and added two mirrors; visitors assumed she hired a designer. Share your shortlist in the comments and we will help you rank the smartest first steps.
Paint Power: Color, Finish, and Clever Tricks

High-Contrast Doors and Trim
An afternoon, a quart of durable semi-gloss, and suddenly your hallway feels designed. Painted black or deep navy doors frame rooms elegantly. Our favorite anecdote: Nora’s squeaky hallway now photographs like a boutique hotel, and she spent more time taping than painting.
Accent Walls without Commitment
Try a painted arch behind the bed or a color-blocked stripe in the dining room. These simple shapes cost little but deliver drama. Renter tip: pair removable tape with gentle finishes to protect walls, then share your results so others can follow safely.
Ceilings and Baseboards Refresh
Ceilings reflect light; a fresh coat brightens everything. Clean baseboards, patch nicks, then paint for a crisp frame that elevates cheap rugs and secondhand furniture alike. Post your before-and-afters, and we will feature a few in next week’s inspiration roundup.
Lighting Upgrades that Look Luxe for Less
Layered Lighting with Swap-Friendly Fixtures
Use plug-in sconces, clamp lamps, or paper globes to add height and glow without hiring an electrician. Reader Devon installed two plug-in sconces over floating shelves, and the evening ambiance made humble paperback spines look like curated gallery pieces.
Warm Bulbs, Dimmers, and Placement
Choose warm bulbs around 2700–3000K and a high color rendering index for natural tones. Add simple dimmers for mood and efficiency. Place lights at varied heights; that soft triangulation erases harsh shadows and flat corners, turning thrifted rooms into cozy retreats.
Repurpose and Refinish Fixtures
Update dated metal with careful cleaning and a durable finish suited to heat. A light sanding and patient, thin coats transformed Ray’s brass-look chandelier into matte black sophistication. Share your refinishing wins so beginners can learn from your missteps and victories.
Storage That Doubles as Decor
Floating Shelves and Picture Ledges
Simple pine boards, sturdy brackets, and a stain to match your palette create ledges for art, cookbooks, or plants. Rotate displays seasonally to refresh the room for free. Tell us your favorite shelf styling rule, and we will test it next week.
Hidden Storage with Texture
Lidded baskets, canvas bins, and ottomans hide necessities while adding warmth. Lina labeled discreetly with twine tags so guests never see remotes or game pieces. Storage that blends in keeps your budget upgrades in focus, not the everyday clutter.
Entryway Mini‑Mudroom
A slim bench, three hooks, and a sturdy tray can reinvent tiny entries. Sam’s rented hallway finally handled boots, bags, and umbrellas without crowding. Share your layout sketch, and we will suggest hook heights and spacing to maximize that narrow slice of space.
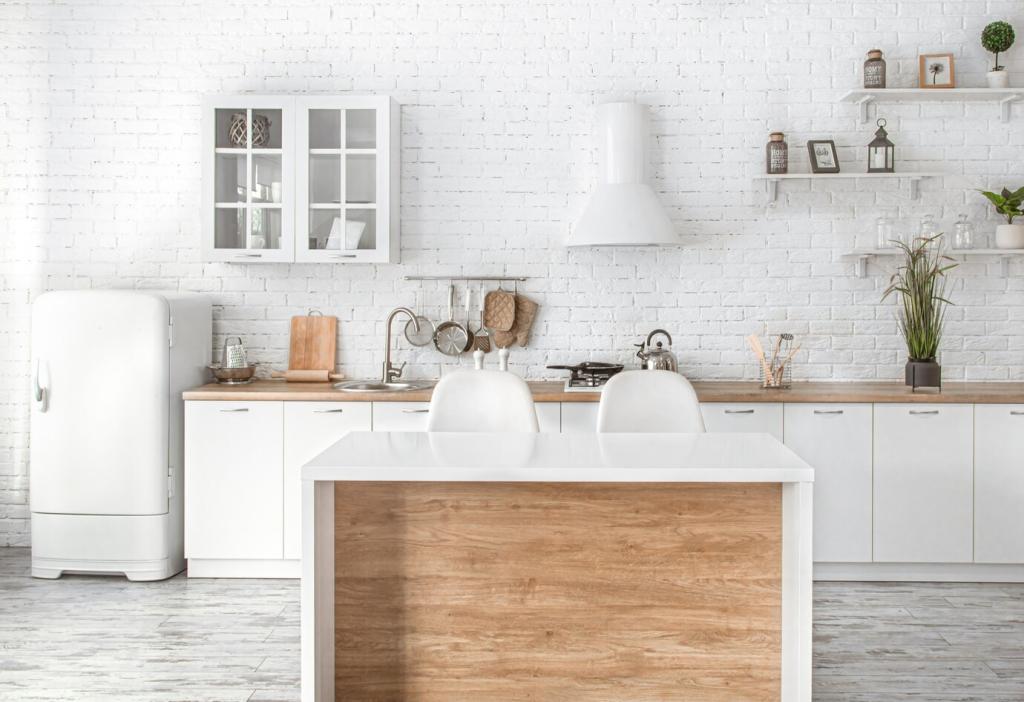
Kitchens and Baths: Small Changes, Big Style
Clean thoroughly, dry fully, and align carefully. Start from the most visible corner for crisp lines. Reader Priya warmed a plain rental kitchen with a subtle herringbone pattern, and guests asked for the tile shop name. Comment if you want her step guide.

Upcycling and Secondhand Wins
Go early on restock days, check for solid wood, and ignore dated finishes. Jen found a scratched console with great bones; a careful sand revealed beautiful oak grain. Tell us your city, and readers will chime in with local thrifting gold mines.
Upcycling and Secondhand Wins
Clean, sand lightly, and use a bonding primer for tricky surfaces. Satin enamel hides small imperfections while looking refined. Share your curing times and lessons learned; your notes help others avoid sticky drawers, drips, and the temptation to rush the final coat.